打造属于你的专属博客,Hexo,Next主题
打造属于你的专属博客,Hexo,NexT主题
一、安装NexT主题
安装
1
2
cd <your-hexo-site>
git clone https://github.com/iissnan/hexo-theme-next themes/next检查版本
1
2
cd themes/next/
grep version _config.yml
二、配置NexT
参考NexT的官方文档:
https://theme-next.iissnan.com/third-party-services.html
注意:以下配置就要重新生成后生效(hexo g)
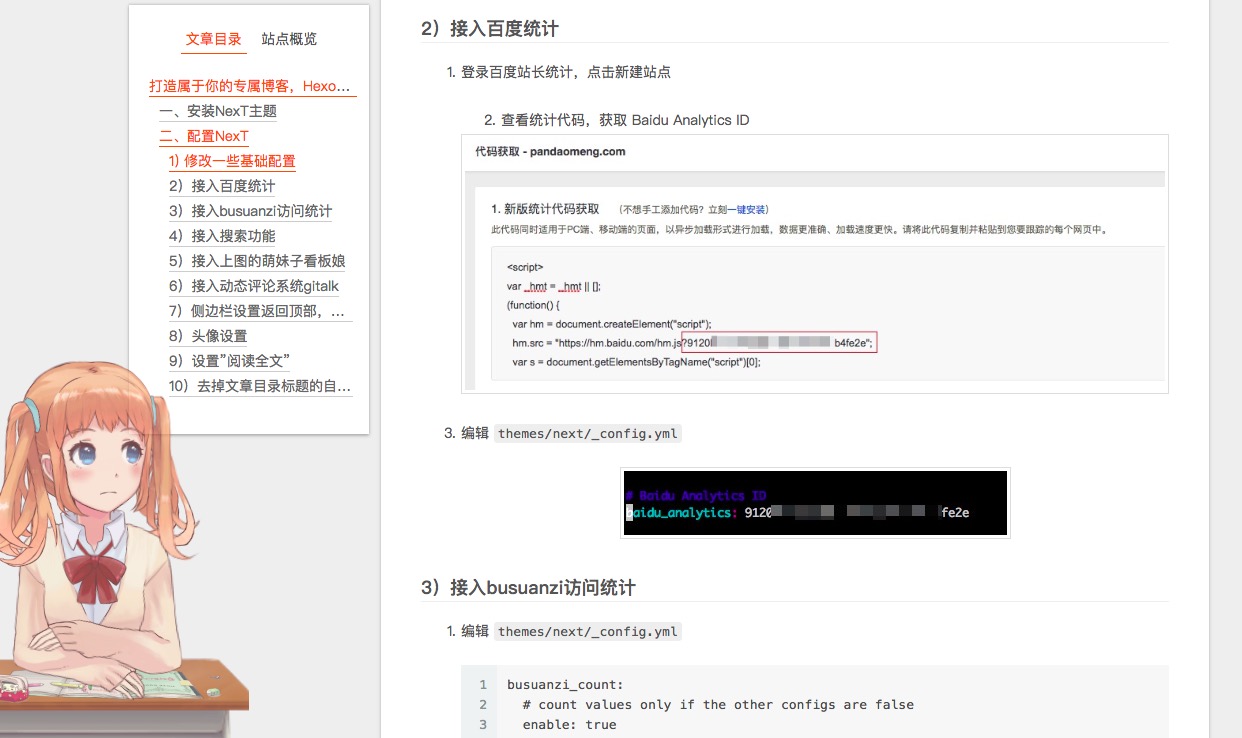
1) 修改一些基础配置
编辑
themes/next/_config.yml1
2
3
4
5
6
7
8# Site
title: 无趣的小帕
subtitle:
description: Just do it!
keywords: IT
author: pandaomeng
language: zh-Hans
timezone:1
seo: true
1
2menu:
tags: /tags/ || tags1
2Schemes
scheme: Gemini1
2motion:
enable: false
2)接入百度统计
登录百度站长统计,点击新建站点
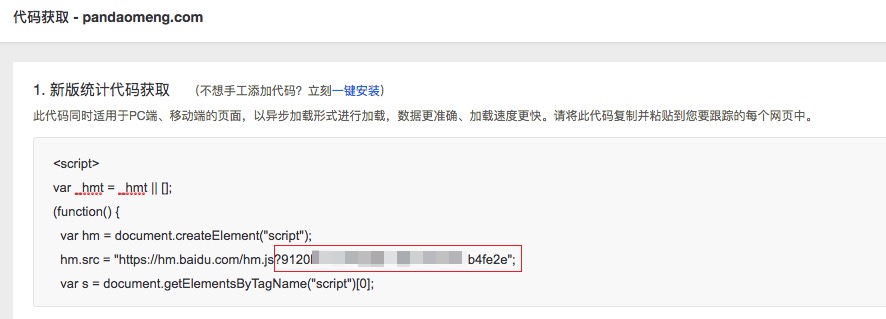
- 查看统计代码,获取 Baidu Analytics ID
编辑
themes/next/_config.yml
3)接入busuanzi访问统计
编辑
themes/next/_config.yml1
2
3
4
5
6
7
8
9
10
11
12
13
14
15busuanzi_count:
# count values only if the other configs are false
enable: true
# custom uv span for the whole site
site_uv: true
site_uv_header: <i class="fa fa-user"></i> 访问人数
site_uv_footer:
# custom pv span for the whole site
site_pv: true
site_pv_header: <i class="fa fa-eye"></i> 总访问量
site_pv_footer: 次
# custom pv span for one page only
page_pv: true
page_pv_header: <i class="fa fa-file-o"></i> 浏览
page_pv_footer: 次busuanzi 的域名失效问题解决,见issue
4)接入搜索功能
在博客根目录下执行以下命令:
1
npm install hexo-generator-searchdb --save
编辑根目录的配置文件
_config.yml可以加在文件最后
1
2
3
4
5search:
path: search.xml
field: post
format: html
limit: 10000编辑主题配置文件
themes/next/_config.yml1
2
3# Local search
local_search:
enable: true效果图
5)接入上图的萌妹子看板娘
github仓库:https://github.com/EYHN/hexo-helper-live2d
model预览:https://huaji8.top/post/live2d-plugin-2.0/
往根目录的配置文件中加入
1
2
3
4
5
6
7
8
9
10
11
12
13
14
15
16live2d:
enable: true
scriptFrom: local
pluginRootPath: live2dw/
pluginJsPath: lib/
pluginModelPath: assets/
tagMode: false
log: false
model:
use: live2d-widget-model-shizuku
display:
position: right
width: 150
height: 300
mobile:
show: true注:上面用的model是live2d-widget-model-shizuku,所以我们要install她
载入model
在根目录:
1
2npm install --save hexo-helper-live2d
npm install --save live2d-widget-model-shizuku
6)接入动态评论系统gitalk
篇幅较长,链接到另一篇文章:
https://www.pandaomeng.com/2019/01-04-gitalk-comment/
7)侧边栏设置返回顶部,并且显示百分比
修改主题配置文件
sidebar 配置下:
1
2# Scroll percent label in b2t button.
scrollpercent: true
8)头像设置
打开 主题配置文件 找到Sidebar Avatar字段
1 | # Sidebar Avatar |
这是头像的路径,只需把你的头像命名为header.jpg(随便命名)放入themes/next/source/images中,将avatar的路径名改成你的头像名就OK啦!
9)设置”阅读全文”
无需修改配置,你只需要在你的文章想要分隔的地方加上
1 | <!--more--> |
就可以了
10)去掉文章目录标题的自动编号
打开 主题配置文件 找到 toc 字段,将number改为false
1 | toc: |
效果图: